What Is Clear Adhesive Sealant and How Does It Work?
Clear Adhesive Sealant sits between two familiar materials: an adhesive and a protective seal. It bonds surfaces while blocking moisture, dust, and air. Unlike opaque caulk, it can preserve the appearance of glass, polished metal, ceramic, and transparent plastic.
Dr. Steven Abbott, a recognized adhesion scientist and author, offers a useful reminder: “Adhesion is not just about the adhesive; it is about the interface.” That principle explains why Clear Adhesive Sealant can succeed on one surface and fail on another. A clean glass edge may form a strong, nearly invisible bond. Finger oils, silicone residue, or trapped moisture can leave cloudy gaps and weak corners. Small details matter.
The material usually begins as a soft compound. After application, it cures through moisture, heat, or another chemical reaction, depending on its formulation. During curing, polymers link together and create a flexible film. That film grips the surface and stretches slightly when materials expand or contract. The result is not always perfect. Excess product can squeeze from the joint, and poor ventilation may slow curing.
This guide will explain what Clear Adhesive Sealant is, how its chemistry works, and where it performs best. It will also examine surface preparation, curing time, flexibility, transparency, and common application errors. A clear finish can look simple. The science underneath is less forgiving.
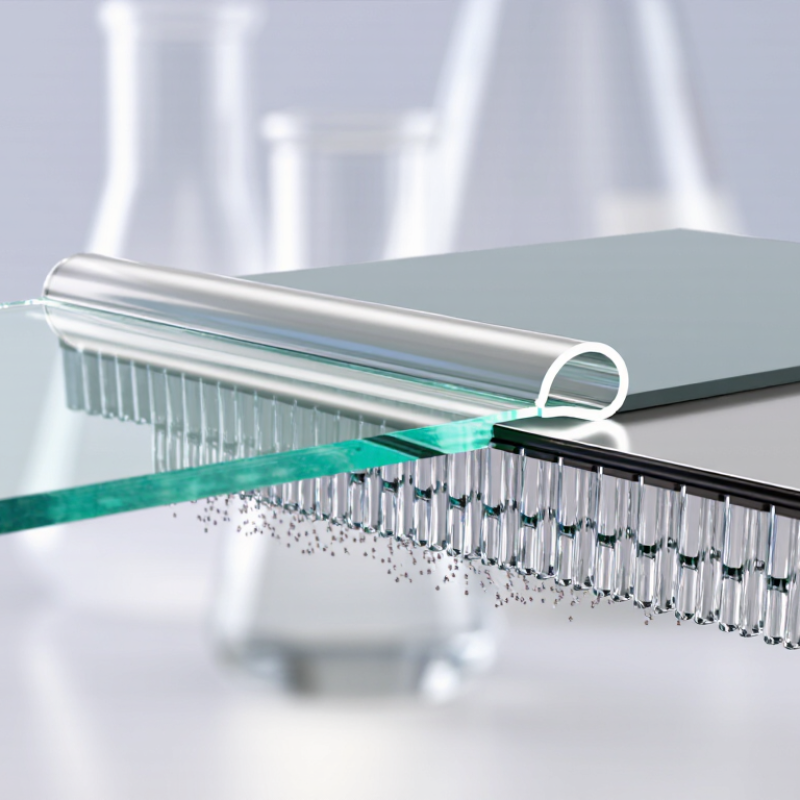
What Is Clear Adhesive Sealant? Composition, Types, and ASTM C920 Classes
Clear adhesive sealant combines bonding strength with moisture protection. Its composition usually includes silicone, polyurethane, acrylic, or hybrid polymers. Silicone remains popular because it tolerates sunlight, temperature changes, and wet rooms. Many clear formulas cure through humidity, forming a flexible rubber-like film around glass, metal, ceramic, or plastic.
The type matters more than appearance. One-part sealants cure directly from air, while two-part systems mix before application and usually cure faster. A 2024 Grand View Research report identifies silicone as a leading product type in the construction sealants market. That trend reflects practical experience, not just marketing. Clear does not mean invisible. Dust, bubbles, and uneven joints can still show.
ASTM C920 adds a more useful technical language. Type S means single-component, while Type M means multi-component. Grade NS identifies non-sag material; Grade P describes pourable material. Class 25 allows movement of plus or minus 25 percent. Class 50 allows plus or minus 50 percent, making it more suitable for moving joints. ASTM C920 also lists uses such as non-traffic, traffic, glass, metal, and exterior applications. A product marked Class 25, NS, NT, and G may suit a vertical window joint, but the label must match the substrate and exposure. Small errors matter. Clear sealant can look clean while hiding poor adhesion underneath.
How Does It Cure? Moisture, Skin Time, and 24–48-Hour Full Cure
What Is Clear Adhesive Sealant and How Does It Work?
Clear adhesive sealant usually cures through moisture in the air. That moisture reacts with the sealant’s chemistry, forming a flexible, water-resistant film. Skin time often takes 10–30 minutes at 23°C and 50% relative humidity. ASTM C679 is commonly used to measure this tack-free stage. It does not prove full cure.
The center cures more slowly. Industry technical data commonly reports about 2–3 mm of cure depth every 24 hours under standard laboratory conditions. A thicker bead may need 24–48 hours before reaching practical handling strength. Low humidity can slow curing. Cold air does too. Poor ventilation may extend the process.
Do not rush it.
A surface may feel dry while the interior remains soft. I have seen this mistake cause shifting joints, trapped moisture, and visible clouding in clear applications. The Adhesive and Sealant Council advises evaluating sealants under their actual service conditions, rather than relying only on label timing. ASTM C920 also emphasizes performance after curing, not merely surface dryness.
For reliable work, apply a controlled bead, keep the joint exposed to air, and avoid loading it during the stated cure window. Testing a small area first is sensible. Real conditions are rarely perfect.
How Clear Adhesive Sealant Cures
Clear adhesive sealants commonly cure when moisture from the surrounding air reacts with the sealant. A surface skin may form in approximately 10–30 minutes, while full curing typically takes about 24–48 hours. Temperature, humidity, bead thickness, ventilation, and the specific formulation can change these times.
How Does It Bond? Surface Wetting, Adhesion, and 400%+ Elongation
What Is Clear Adhesive Sealant and How Does It Work?
Clear adhesive sealant combines bonding strength with flexible sealing. Its performance begins with surface wetting. Before curing, the material flows into tiny scratches and pores. Better wetting creates closer contact and improves adhesion. Clean, dry glass, metal, ceramic, and painted surfaces usually provide more reliable results. Dust, oil, and moisture can interrupt this contact.
After application, moisture or another curing reaction forms an elastic polymer network. This network grips the surface while absorbing movement between different materials. A sealant showing 400% or more elongation can stretch five times its original length before breaking. However, this figure does not mean every joint should move that far. ISO 11600 classifies common sealant movement capabilities at 7.5%, 12.5%, 20%, and 25%. ASTM D412 testing measures tensile strength and elongation, but real joints also depend on width, depth, temperature, and surface preparation. Laboratory numbers can look perfect. Field conditions are less polite.
Tips: Apply a small test bead first. Watch for shrinking, bubbles, or poor edge contact after curing. Use a solvent suitable for the substrate, then allow the surface to dry completely. Keep the joint geometry controlled. A shallow, wide bead often handles movement better than a deep, narrow one. Published adhesive and sealant industry reports repeatedly identify surface preparation and joint design as major causes of performance variation. I would not ignore the substrate’s coating, either. Its failure may happen before the adhesive does.
Where Is It Used? Glazing, Plumbing, and Joints with 25% Movement
Clear adhesive sealant is a flexible material that bonds surfaces while blocking water, air, and dust. It usually cures after exposure to moisture in the air. During curing, the material changes from a soft paste into a rubber-like seal. This flexibility helps it follow small shifts without cracking.
In glazing, it can seal the edge between glass and a frame. The clear finish preserves the appearance of the installation. Clean, dry surfaces are essential. Dust, grease, and old residue can weaken adhesion. A narrow, even bead usually performs better than an oversized one. The sealant should not replace mechanical support when glass carries weight.
Plumbing is another common use. It can seal around sinks, pipe penetrations, shower panels, and other joints exposed to splashes. However, it is not suitable for every pipe material or continuous water pressure. Check compatibility before application. Joints designed for up to 25% movement need enough sealant depth and proper joint width. The sealant must stretch and recover instead of sticking too tightly to the joint bottom. In practice, poor preparation causes more failures than the product itself. I have also seen neat-looking beads fail because the surfaces were slightly damp. Allow full curing time before exposing the joint to water or movement. Temperature, humidity, and joint design can change the result.
How Is It Applied? ISO 11600, Surface Preparation, and 3–6 mm Beads
Clear adhesive sealant combines bonding strength with flexible gap sealing. It is commonly used around glass, metal, ceramic, and finished surfaces. Its transparent appearance helps preserve clean visual lines. The cured material remains slightly elastic, allowing limited movement caused by temperature or vibration.
Application quality depends heavily on surface preparation. Remove dust, oil, loose paint, and moisture with suitable cleaning methods. The surface must be sound and dry before sealing. I usually test a small hidden area first. Compatibility can be overlooked, especially on painted or porous materials. That mistake may cause staining or weak adhesion later.
Cut the nozzle neatly and apply a continuous 3–6 mm bead. Keep the nozzle angled consistently, then tool the sealant with light, even pressure. Avoid trapping air. A bead that is too thin may fail to cover movement, while an oversized bead cures slowly and looks untidy. Joint design still matters more than appearance. ISO 11600 classifies construction sealants by intended use and movement capability, so its classification should match the joint conditions. It does not replace project-specific testing or installation instructions. Allow sufficient curing time before loading the bonded area. I have seen rushed installations fail simply because the surface felt dry, but the sealant underneath was not cured.